Kitchen Makeover (for under $500!) Part II
The other day someone said she loved the new tile I put in my kitchen. I said LOL! It’s not tile…
In Part I I told y’all all about how I painted our kitchen cabinets and installed new hardware. In Part II I’m giving you details on what I did with the “backsplash” and countertops— and for CHEAP. I spent under $85 on both!
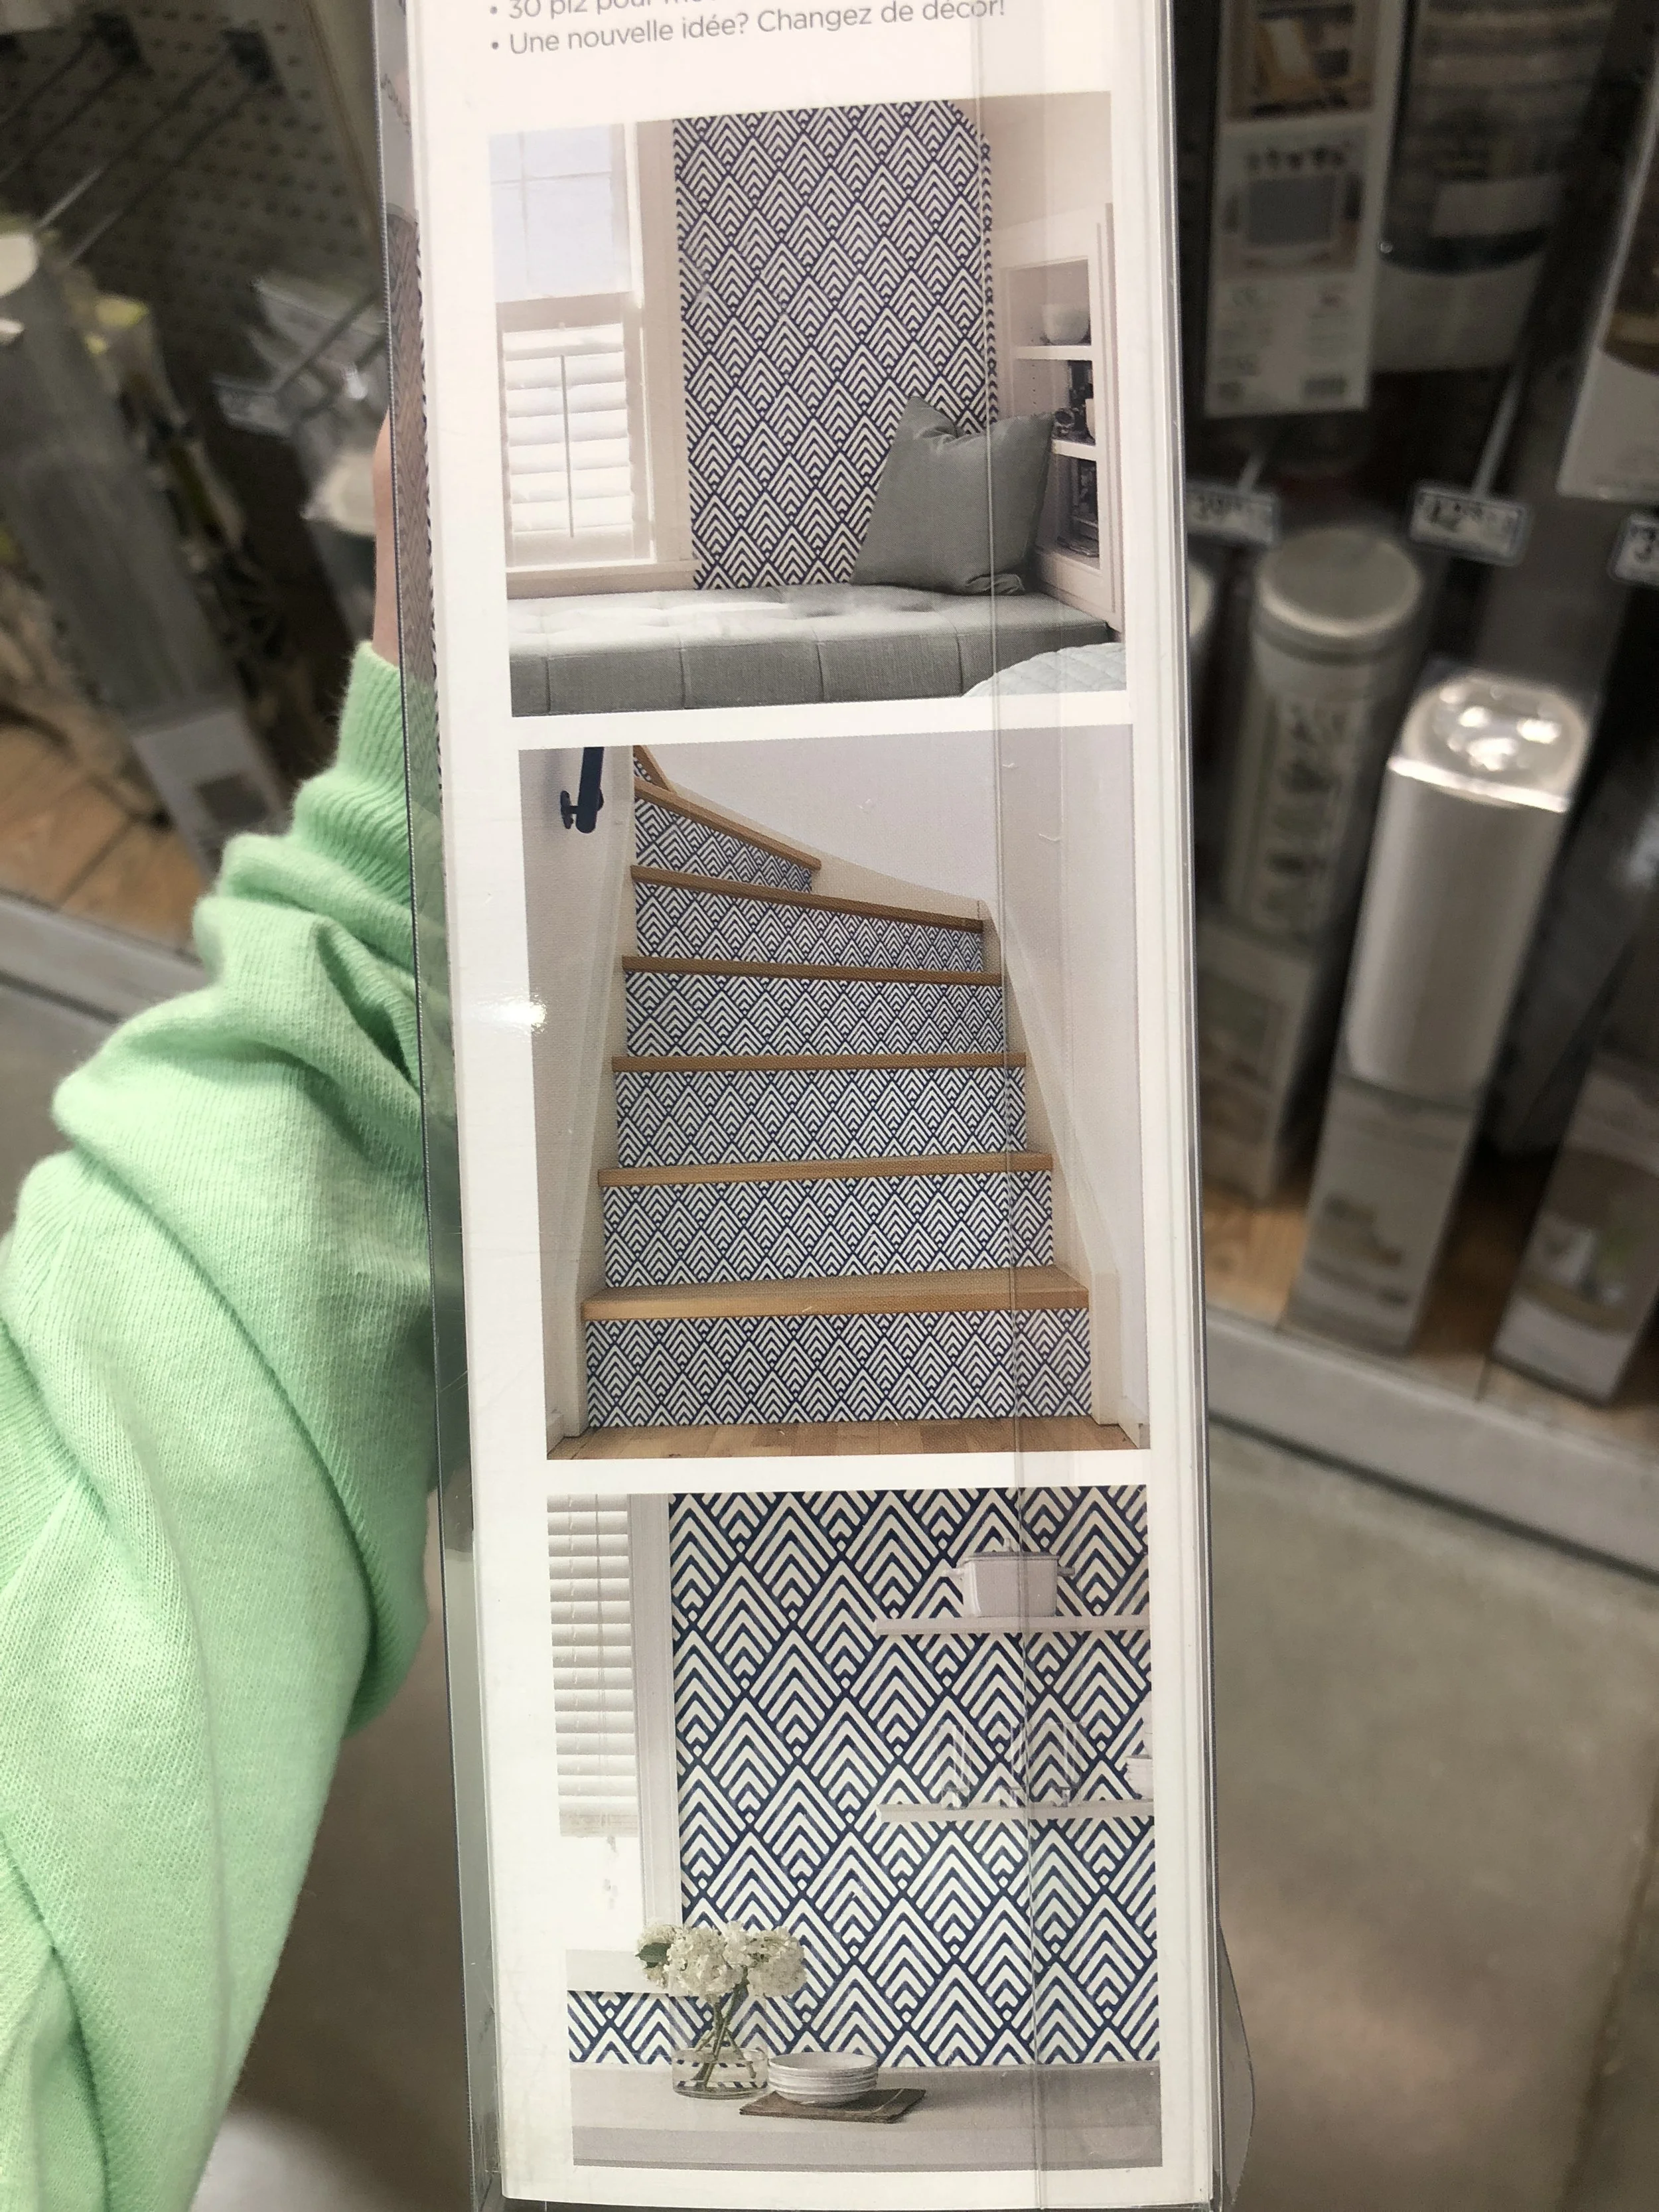
In hopes that we can demo the kitchen in a year or so, I wanted to spend as little as possible freshening up this space. Amazon has nice looking subway tile peel and stick bask splash, but after getting as much as I’d need, it was going to be close to $100, and that was just a bit more than I wanted to spend. (Of course now I find this fun peel and stick pattern that could have been cute and affordable, but hey my master bathroom could use it :D )
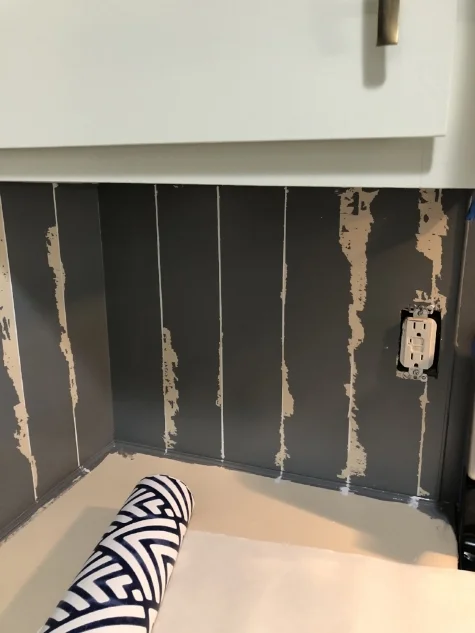
So I thought, why not paint the back splash area, then use painters tape to create a herringbone design in white? I used leftover paint from the fireplace and I thought it would look cool to have that dark smoky gray color complement the fireplace adjacent to the kitchen. Well, the back splash area is slippery laminate like the countertops. So it didn’t adhere. I should have primed it first! #fail. I was SO BUMMED. So I said, screw it, wallpaper it is!!
I was on a mission to get that awful messed up paint fixed up, and didn’t have the patience to wait for something to be delivered, so I stopped at 5 different stores trying to find a wallpaper that looked kinda like tile. I didn’t want to use something that was blatantly wallpaper, you know?
I finally found the winner at Lowe’s.
By the way, I am seeing it ALL OVER now. From Buzz Feed Nifty to Indigo Market here in Charleston. Some say I’m a pioneer.
Anyway.
This photo captures all the help my husband contributed to this project. *giggle and eye roll*
Anyway.
The process was tricky. You have to cut the pieces perfectly so that each piece matches up next to the one next to it. And the paper is super sticky. But generally easier and less time consuming than the paint job!
TA DAAA!!!
OK great.
Now on to the countertops.
I was going to paint the countertops with Rustoleum countertop paint, but after reading several reviews, it sounded like wayyyyy too much of a process for a short term thing (several coats of paint and days in between coats).
Then my friend suggested contact paper.
Yes, I know. I cringed a little, too.
I read reviews, they sounded promising, and I bought 2 rolls.
Also very sticky. And if you crinkle it too much, the wrinkles stay in the paper. So you have to be very careful to keep it straight and flat as possible while you measure and cut and place it on. The hardest part was around the kitchen sink, otherwise not too bad. We could have done a better job, but it’ll do for the time being. I am generally pleased with how it turned out!
Heads up! My posts may contain affiliate links. Should you purchase anything through the link, you won’t pay a penny more but I’ll get a small commission, which helps keep the lights on. Thanks so much for your support!


